~ day 10: fashion ~

Guest Blogger: Susan Cannon
In the last few years, Susan, from FeliciaEvita.blogspot.com, has taken up making jewelry as a hobby. She loves it because not only is it fun to make beautiful stuff to wear, she also uses gems with energy and healing properties. Power bracelets, as they are called, make great gifts, especially as we head into the new year and people are choosing to make changes in their lives. Here is her step-by-step on how to make one or many as gifts for your friends.
In the last few years, Susan, from FeliciaEvita.blogspot.com, has taken up making jewelry as a hobby. She loves it because not only is it fun to make beautiful stuff to wear, she also uses gems with energy and healing properties. Power bracelets, as they are called, make great gifts, especially as we head into the new year and people are choosing to make changes in their lives. Here is her step-by-step on how to make one or many as gifts for your friends.

Stone Power. Healing, soothing, energizing, invigorating, and promoting creativity. These among the qualities of semi-precious stones such as lapis lazuli, jasper, amethyst, and coral. And … it's easy to wear stone power on your wrist. Gorgeous stretchy stone bracelets take but a few minutes to make and will be a much loved Christmas gift for many on your list. No special equipment or tools are needed to complete.
Supplies
6 mm stone beads, available at your local craft store or online
seed beads
1 mm clear stretch beading cord
scissors or wire cutters
Since this type of construction is less secure than with a jeweler's clasp, don't use diamonds! Inexpensive semi-precious stone beads are available at your local craft store, often at a substantial discount if you hit sale day. I nearly always get my beads on sale, with a coupon, online, or at a gem show, so never paying full retail price.


Cut. Cut a length of elastic cord 4” longer than your wrist. This will give you plenty of slack for errors, which inevitably happen.
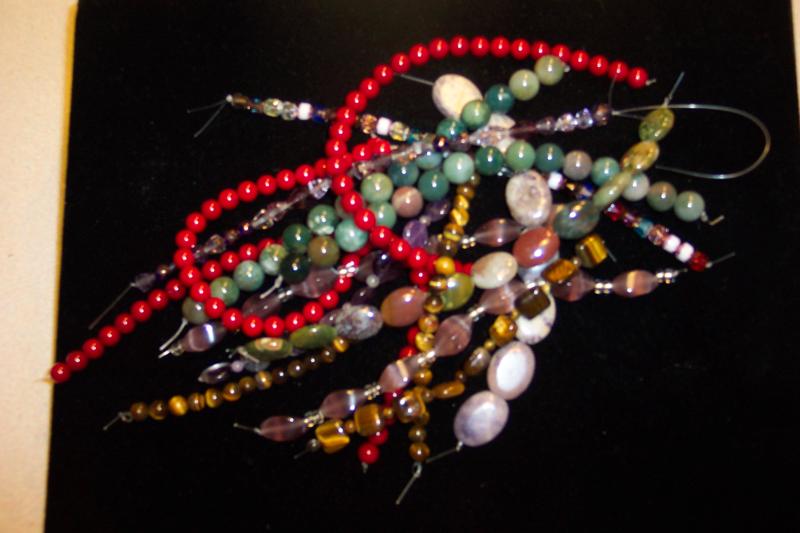
Design. Select the beads for your bracelet. You may want to add silver or gold colored spacer beads. Lay out on a design board (or … a kitchen cutting board works). A simple design is best, ie two small, one big, two small, one big, etc.
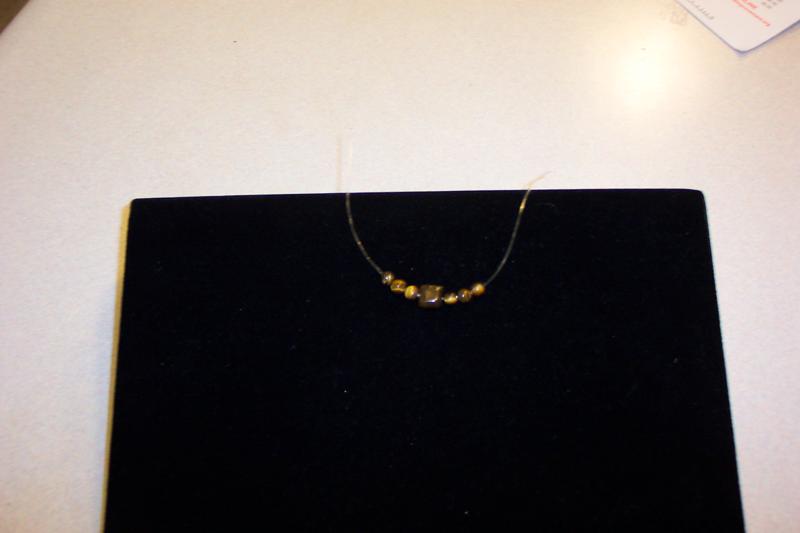
String. I like to build from the middle out so I always put the middle bead on first, then add more beads to the elastic at the left or right. Repeat the design until the bracelet is sufficiently long to tie and have reasonable “give” to be put on and removed. You may have to “test” a few times to get it just right.
Tie. There are several ways to attach the elastic cord. I like to tie a square knot or two (right over left and under, then left over right and under). You can also attach with a crimp bead.
Cut. Careful here! Cut the excess cord.
Secure. Add clear nail polish to the tie spot to ensure that the bracelet will stay intact.
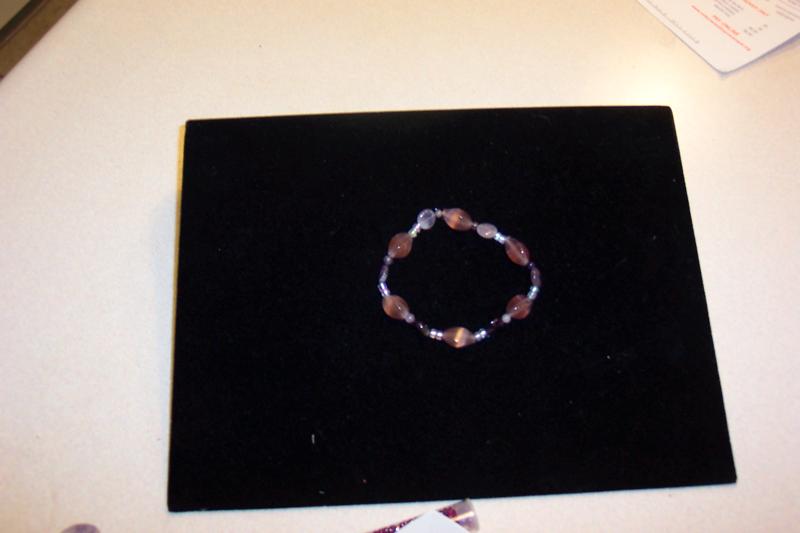
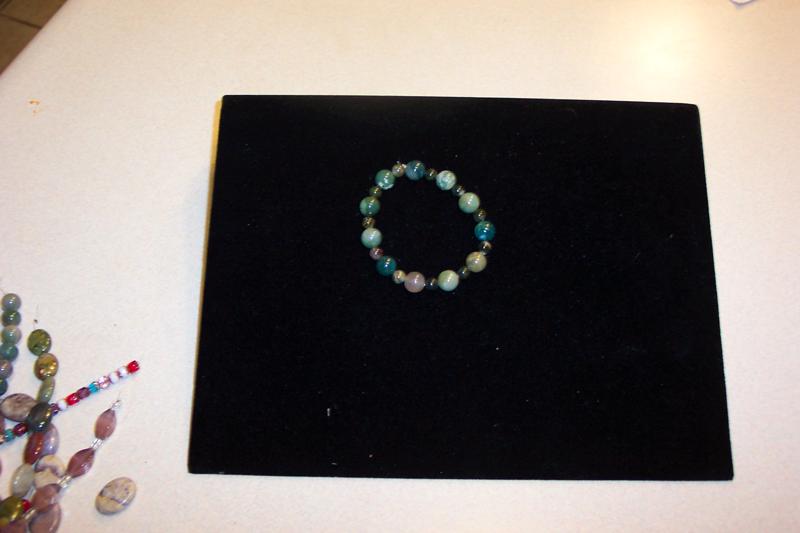
Wear. Beautiful!
Design. Select the beads for your bracelet. You may want to add silver or gold colored spacer beads. Lay out on a design board (or … a kitchen cutting board works). A simple design is best, ie two small, one big, two small, one big, etc.
String. I like to build from the middle out so I always put the middle bead on first, then add more beads to the elastic at the left or right. Repeat the design until the bracelet is sufficiently long to tie and have reasonable “give” to be put on and removed. You may have to “test” a few times to get it just right.
Tie. There are several ways to attach the elastic cord. I like to tie a square knot or two (right over left and under, then left over right and under). You can also attach with a crimp bead.
Cut. Careful here! Cut the excess cord.
Secure. Add clear nail polish to the tie spot to ensure that the bracelet will stay intact.
Wear. Beautiful!

 RSS Feed


